

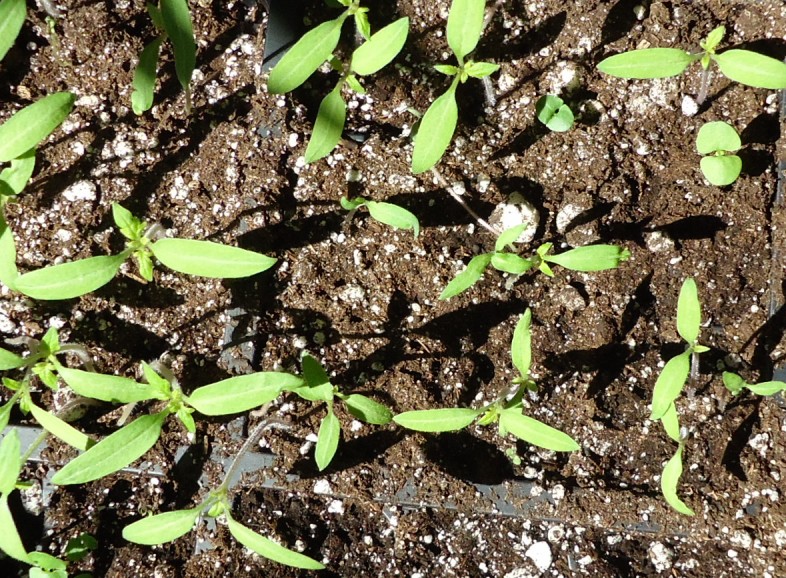
Seeds are one of the most fascinating things on earth. These tiny, hard objects – looking very much like rocks – contain everything necessary to grow and bloom and give great joy all summer long.
Another great thing about seeds is their will to live. Seeds really do want to grow, that is their purpose. With this will to live, the most difficult thing to know is WHEN to start them.
In our northern climate and shorter growing season, it is desirable to start many of our favorites indoors, thus, when to start seeds indoors will be the focus of this article.
Proper timing for starting seeds indoors depends on 5 pieces of information:
- average last spring frost date for your area
- number of days in a typical growing season for your area
- number of days to maturity listed on the seed packet
- amount of light and temperature in your seed starting area
- the size you want your plants to be when planted outside
The Tool Shed contains a clickable climatic map that allows you to check the average last spring frost date and the number of days in your typical growing season.
The last spring frost date gives you a base date to start from when scheduling your seeding—we’ll use this later in the article. The typical growing season value helps you determine whether the variety of plants you are considering has a chance of maturing in your location.
When purchasing seeds, look at the back of the packet or at the catalog description. The information should include the number of days to maturity for that variety.
This will hold true for both vegetables and flowers. Compare this to the typical growing season for your area. If the typical growing season value is the same as, or more than, the days to maturity, this is a good variety to choose from.
If the typical growing season value is shorter than the time required for the seeds, you may want to reconsider your choice.
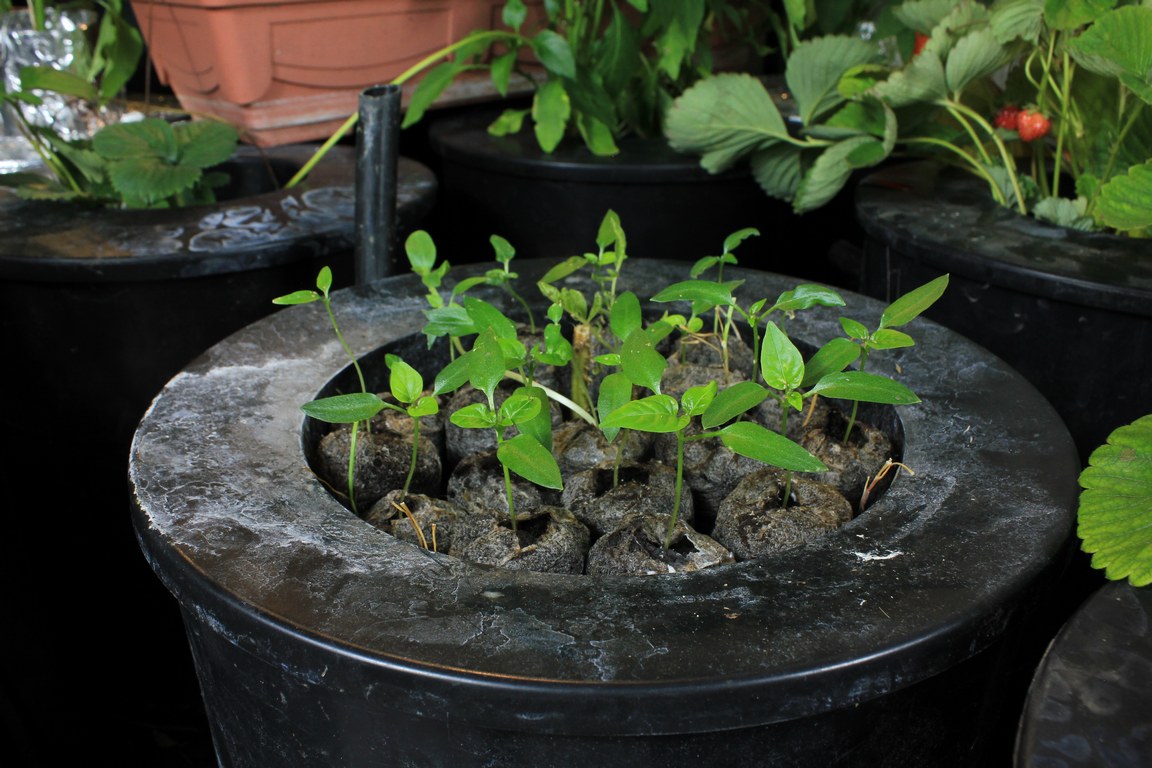
The next piece of information you need to determine is where you are going to start your seeds and the type of environment it offers.
When planning your seed starting location, be sure it is close to an outlet for additional lighting, has good air movement to prevent seedlings from staying too wet, and can be protected from water damage caused when misting or watering seedlings.
As a general rule, most seeds prefer a temperature of 70 to 75 degrees Fahrenheit (21 to 24 degrees Celcius) and at least 6 to 7 hours of direct sun. The temperature in most houses is fine, but the light needs to be supplemented.
You can add light to your seedlings with fluorescent lighting purchased at most hardware stores. It is inexpensive and uses little electricity.
When you purchase bulbs for your light, look for ‘daylight’ or ‘full spectrum’ bulbs, as these most closely resemble sunlight. You may also want to use a timer.
Since fluorescent lighting does not have the intensity or power of the sun, the light should stay on for 14 to 16 hours each day. While not necessary, a timer will turn the light on and off for you even when you are not at home.
Because of its lower intensity, fluorescent lighting needs to be placed 3 to 6 inches (7 -15 centimeters) above the seedlings and raised as the seedlings grow, so you will want to hang your new light by a chain for easy adjustment.
The last decision to make before hitting the dirt is the size you want your seedlings to be when you transplant them outside.
If you start them in the house too early, you will end up transplanting them into bigger and bigger pots, taking up more and more room in your house, or they might be too tall and spindly from being inside too long.
I prefer to transplant seedlings to the outside while they are still small. I find there is less transplant shock when I plant small seedlings and they catch up and grow as fast as larger plants purchased from local greenhouses.
Make your decision, before starting the seeds, about how large you want your plants.
Now, let’s consider how to properly schedule seed starting times. Using a calendar, count backward from the average last spring frost, this will determine your starting point.
From this date, determine how far your conditions are from the ideal seed starting conditions be sure to compare light and temperature. Add or subtract from your starting date.
Then determine how large you want your plants to be when you put them outside. Again, add or subtract from your date accordingly; this gives you the target date for starting your seeds.
As an example: I want to start tomato seeds here in our zone 4 location with a 157-day typical growing season.
Our average last spring frost date is April 30; the seed packet indicates they take 75 days to reach maturity and that I should start the seeds 6 to 8 weeks before the last frost.
Counting backward 6 weeks on the calendar from April 30, I come to March 21. I determine that my seed starting area is a little colder than it should be so I subtract two more weeks to allow for the slower growth because of cool conditions.
This puts me on March 7th. I also determine that my seed starting area is a little darker than is optimal so I want to move the seeding date a little forward; that way, the seeds do not get too spindly stretching toward the light, and because I prefer to transplant my plants directly into the soil while they are little, I push the date forward three weeks.
This gives me a date of March 28th to start my tomatoes. This should ensure that I have small tomato plants ready to plant outside around the first of May.
Starting seeds indoors is a great prescription for spring fever. By using these simple pieces of information and a calendar, you can be well on your way to an extended season and a prosperous garden.
Holly Mawby
has a degree in Horticulture and Landscape Design from the University of Minnesota, Waseca.
She has been actively employed in the field of Horticulture for 27 years. In that time Holly has worked in all aspects of the horticulture field, from Floral and Landscape Design to Landscape Maintenance, Sales, and Propagation.
Holly received her Minnesota Vocational Teaching license and worked for 7 years as a Horticulture teacher in southern Minnesota.
Holly is currently co-owner along with her husband Barry of Gardendwellers Farm located in Churchs Ferry ND.
Gardendwellers Farm is a unique blend of public gardens, educational programs, therapy, and healing gardens, and the production of specialty crops.