Whenever we talk to gardeners about starting plants from seed, we are usually met with one of two reactions. The gardener either has a glazed look on his face that fluctuates between boredom and panic, or they enthusiastically say how growing from seed is one of the most enjoyable parts of gardening for them.
You can pretty much bet that the bored/panicked gardener has either never tried to grow their plants from seed or had a bad first experience and has been scared off.

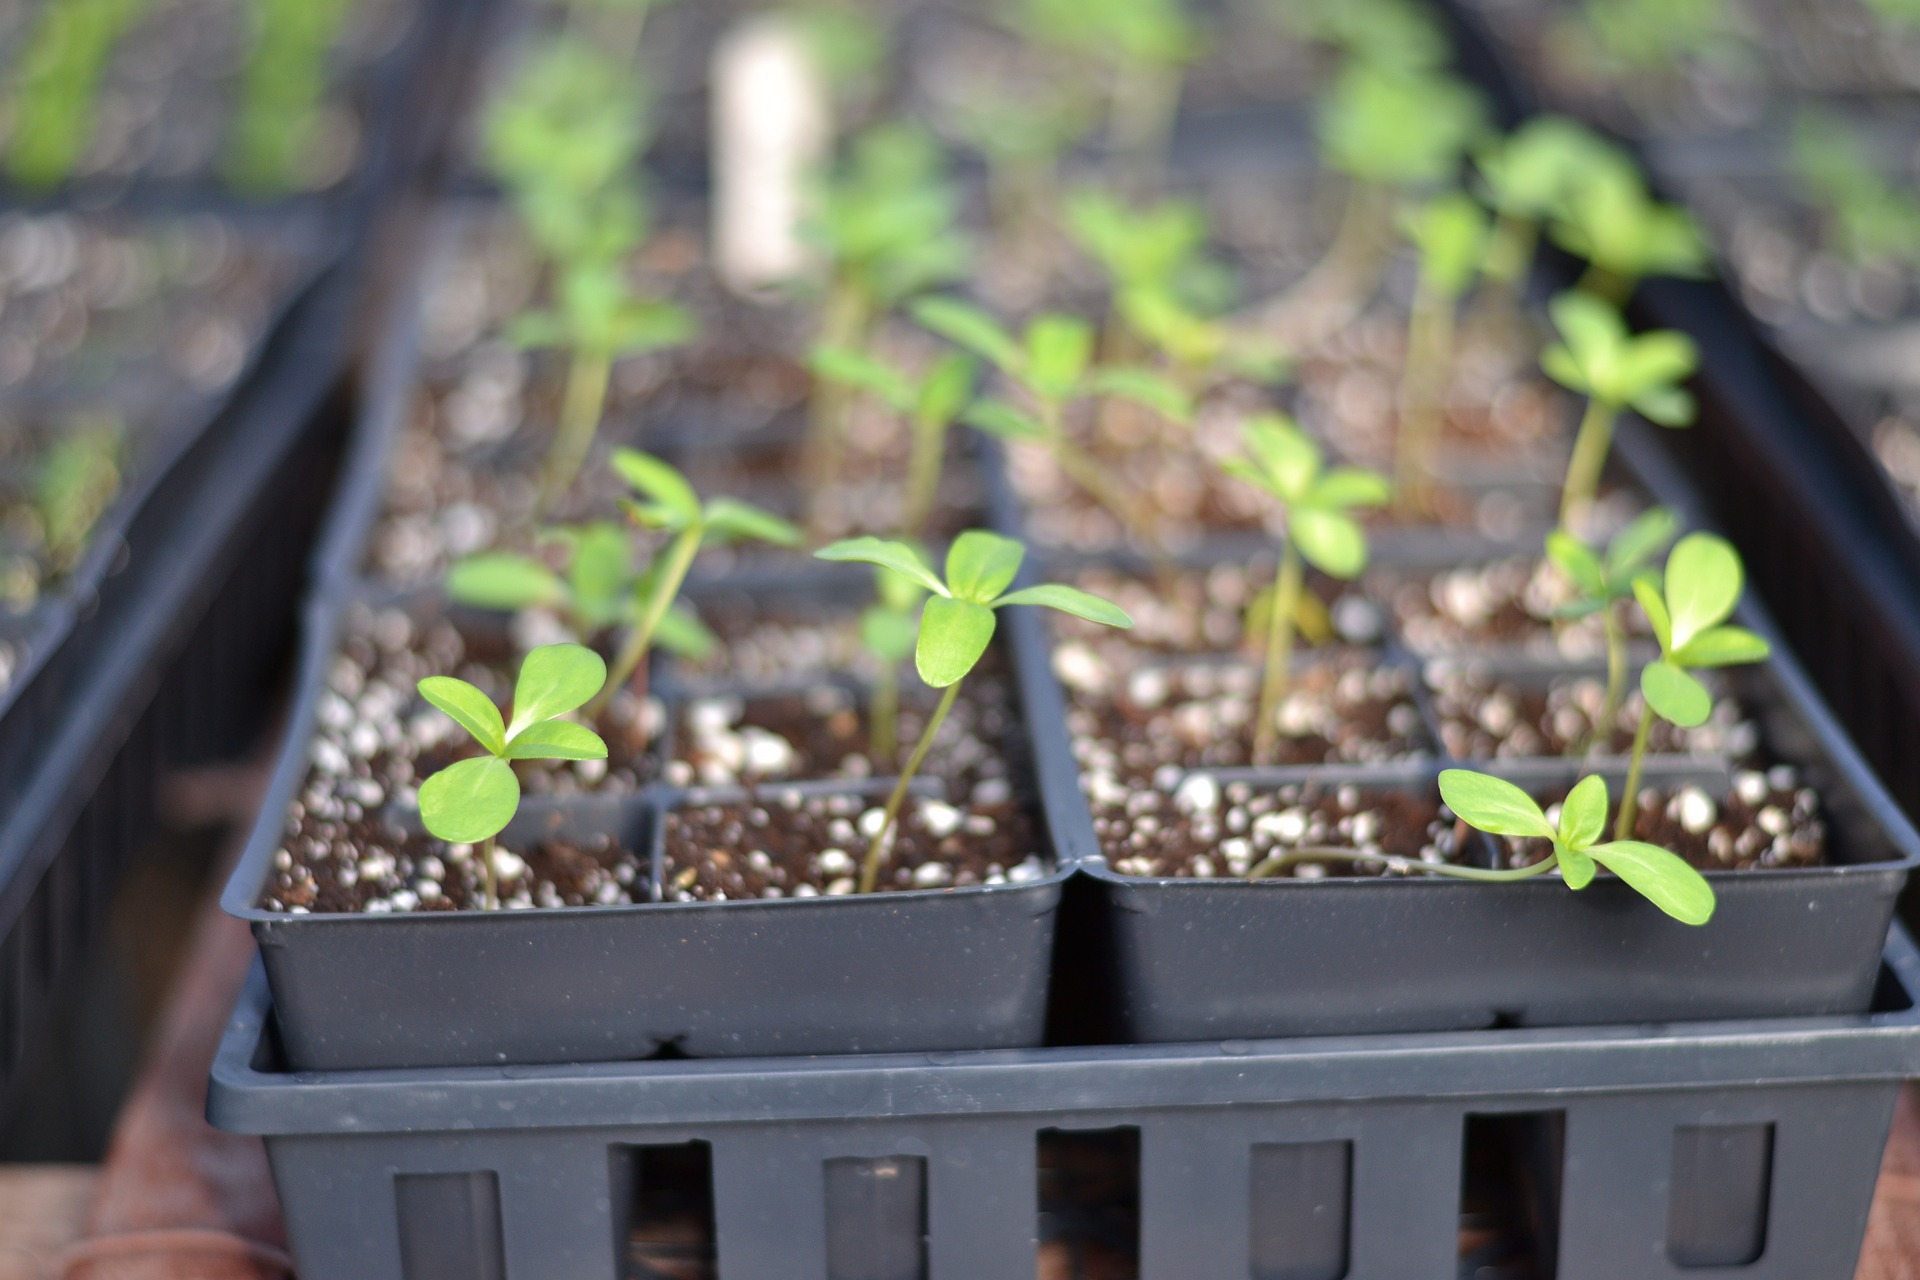
Starting seeds indoors can give a head start on the season
Of course, we have to convert the intimidated and reluctant seed starters! There are so many benefits to starting your plants from seed. You get an infinitely wider choice of varieties.
Instead of having to settle for the two varieties of tomato transplants that your local garden center stocks, you can pick and choose from the selected offerings of numerous seed houses.
Not everyone in this vast country has access to a good quality garden center, especially in rural areas, so the plants that you grow may be the only ones available. You can control the quality, quantity, and timing of your plants and it certainly is cheaper if you have a big garden. Best of all, it is rewarding and fun!
Some varieties of plants need a head start, especially in areas with short seasons, so they should be seeded early inside and then transplanted into the garden when it warms up.
Geraniums, petunias, and impatiens are common flowers that should be started inside, as well as peppers and tomatoes for the vegetable garden. Other faster-growing plants, such as sunflowers, zinnias, radishes, beans, and peas can usually be planted directly into the garden.
Basics Starting Seeds Indoors
Here are the necessary basics for starting seeds indoors:

Putting the seed starting mix into the planting containers
Containers
Just about anything that holds several inches of soil and in which drainage holes can be punched is suitable, such as milk cartons, paper cups, yogurt containers, etc. You can also purchase peat pots or cell-packs or plastic pots.
Peat pots are great for plants that do not like their roots disturbed, such as melons, squash, morning glories, etc.
Soil-less Seed Starting Mix
This is usually a combination of peat moss, vermiculite, perlite, and lime. It is sterile, holds water and air well, and is lightweight. The ‘Seed starting’ mix has a finer texture than potting mix.
Seeds
Gardeners usually plant too many seeds and sow too thickly, so try to figure out how many plants you will need. Start each variety the recommended number of weeks before your last expected spring frost date. Usually, there is no benefit to starting seeds much earlier than recommended, unless you have a greenhouse with a lot of extra space.

Young seedlings after sprouting
Warmth
Most seeds need warmth to germinate, warmer than average room temperatures. The top of your refrigerator, in your furnace room, etc. may provide some warmth. Ideally, you should provide bottom heat with a heating pad or propagation mat. A “Min/Max Thermometer” is invaluable for recording fluctuating temperatures.
Plastic Covering
While waiting for the seeds to germinate, the container should be covered to keep moisture in. Use clear plastic domes or a clear plastic bag for varieties that need light to germinate. Use black plastic for varieties that require darkness. Check every day and remove this covering as soon as germination occurs.
Light
Once your seedlings germinate, they require lots of light. This is the hardest thing for most home gardeners to provide. If you do not have enough light, the plants will stretch and be spindly and weak.
Keep your plants on the cool side and use fluorescent lights if necessary. If you must grow plants on a windowsill, remove them at night as they may get too cool. Keep fluorescent lights very close to the plants.
Water
Keep the planting medium evenly moist until the seeds germinate. Thereafter, water seedlings very carefully. Mist gently or water tiny seedlings from the bottom. As plants get sturdier, you can use a watering can with a gentle nozzle. Once plants have a couple of sets of leaves you should let the soil dry out a bit between waterings.
Fertilizer
Start fertilizing your seedlings when they have at least one set of mature leaves, following package directions. You can use any all-purpose water-soluble fertilizer or an organic product.
Thinning and Transplanting
When seedlings have three leaves, and onions are 2″ tall or big enough to handle, it is time to transplant them into bigger pots or thin them. Never let plants get crowded, or you will set them back. Either thin so each plant has plenty of room, or move to a bigger container.

Transplanting into bigger growing pots
Seeding in the Garden
For direct seeding in the garden, follow these tips:
Soil Preparation
A well-worked seed bed is key to getting good germination. The soil should be free of large clumps of soil and relatively level in the rows. This will help you plant at the proper depth, and make it easier for the plants to emerge. This is a good time to work on your fertilizer and lime for the season.
When to Plant
Often the desire to get out and start planting those first few warm weekends of spring is very overwhelming. However, don’t be too tempted to rush seeds into the ground before their proper time.
Some vegetables can be planted as soon as the soil can be worked. Beets, carrots, lettuce, onions, parsnips, peas, radishes, and spinach can all handle cool soil and light frost. Other vegetables need much warmer soil to get started. Beans, corn, cucumbers, melons, pumpkins, and squash are all much better off being planted once things get warmer.
All too often when these types are planted early they either rot in the soil or are killed by a late frost. If they do manage to survive, they are often only a few days earlier than those planted weeks later.
If you want to push the season for the earliest possible veggies, plant some of your seed but save most of it for a second planting a few weeks later. This way you avoid a total loss in case of a late frost.
Treated vs. Untreated Seed
For the northern gardener, treated seeds offer a real advantage in ensuring good germination. With how cool and wet our springs can be, the fungicide treatments prevent damping off and seed rots from ruining your planting.
However, more and more gardeners are looking to steer away from chemicals and are choosing to plant untreated seeds. If you are going to plant untreated seeds of peas, beans, and corn, you need to be that much more careful to plant in warm soil. It is also a good idea to plant your seeds thicker as a bit of insurance.
Post Planting Care
Carefully follow the directions for planting depth. This is especially important with smaller seeded plants like flowers, carrots, or lettuce, as they do not have the strength to push up through a lot of soil.
The soil should be kept moist but not soaking wet after planting until the seeds come up. If you look after these two details you should have no problems with direct seeding in the garden.
Perla Irish, who is more familiarly known as Irish, is the Content Manager at newfld.com. She loves following trends around home and garden, interior design and digital marketing. Through this blog, Irish wants to share information and help readers solve the problems they are experiencing.