

Hybridizing – the creation of new plants – is something every serious gardener thinks of at least once. For many plants, the creation of a new hybrid is a lengthy and difficult process.
Either the plants do not readily set seed, the process to get the seed to germinate is difficult, or else the lengthy time between seed and the mature specimen is daunting.
Fortunately, this isn’t the case with daylilies! Hemerocallis are easily crossed and readily produce seed. Even in northern climates, seed can be brought to flower within two years, and will grow to a mature specimen in three to four years.
Daylilies are divided into two chromosomal forms; diploid (2 sets of chromosomes) and tetraploid (4 sets of chromosomes).
Although some hybridizers work with both diploid and tetraploid flowers, the majority find it easier to choose one or the other. For me, I chose to work with tetraploids.
The additional sets of chromosomes allow for more variability in the flower.
Although daylilies can be grown from the Carolinas to California and from Florida to Zone 3 in Canada, the same daylily will not fare equally well in all areas.
Despite what many catalogs will lead you to believe, daylilies tend to be better adapted to some areas of the country than others.
Dormant daylilies do very poorly in the deep south where winter and sub-freezing temperatures are relatively non-existent.
Likewise, some of the daylilies hybridized in the deep south will either languish or die outright when exposed to sub-zero temperatures without snow cover.
In addition, heat and humidity (or lack thereof) affect the appearance of a flower. A daylily that is heavily ruffled in Louisiana may barely open in Denver.
It is pretty well known that bud count (the number of flowers on each scape – the stem that holds the flowers) in a Florida hybridized daylily will be reduced as the daylily moves northward.
Read Also :
A daylily that exhibits a healthy bud count of 30 in Orlando may only have a bud count of 10 in Minnesota.
Since I live in a solid zone 4 area of Upstate New York, the challenge for me is not only to produce a daylily that thrives despite our -30° F winters and wind-blown hilltop, but one that has good bud count and sports an attractive flower with garden appeal.
I began by searching out older cultivars that filled the bill. Daylilies hybridized by Don Stevens, Steve Moldovan, John Benz, and Pat Stamile formed the core of my early hybridizing program.
I also purchased a number of hybrids from noted hybridizers in the Carolinas, Georgia, and Florida. I sought southern plant material that, while not especially happy up here, at least tolerated our climate.
Identifying which new hybrids would do well was a difficult and expensive task. Very many expensive modern-day wonders were discarded in the process.
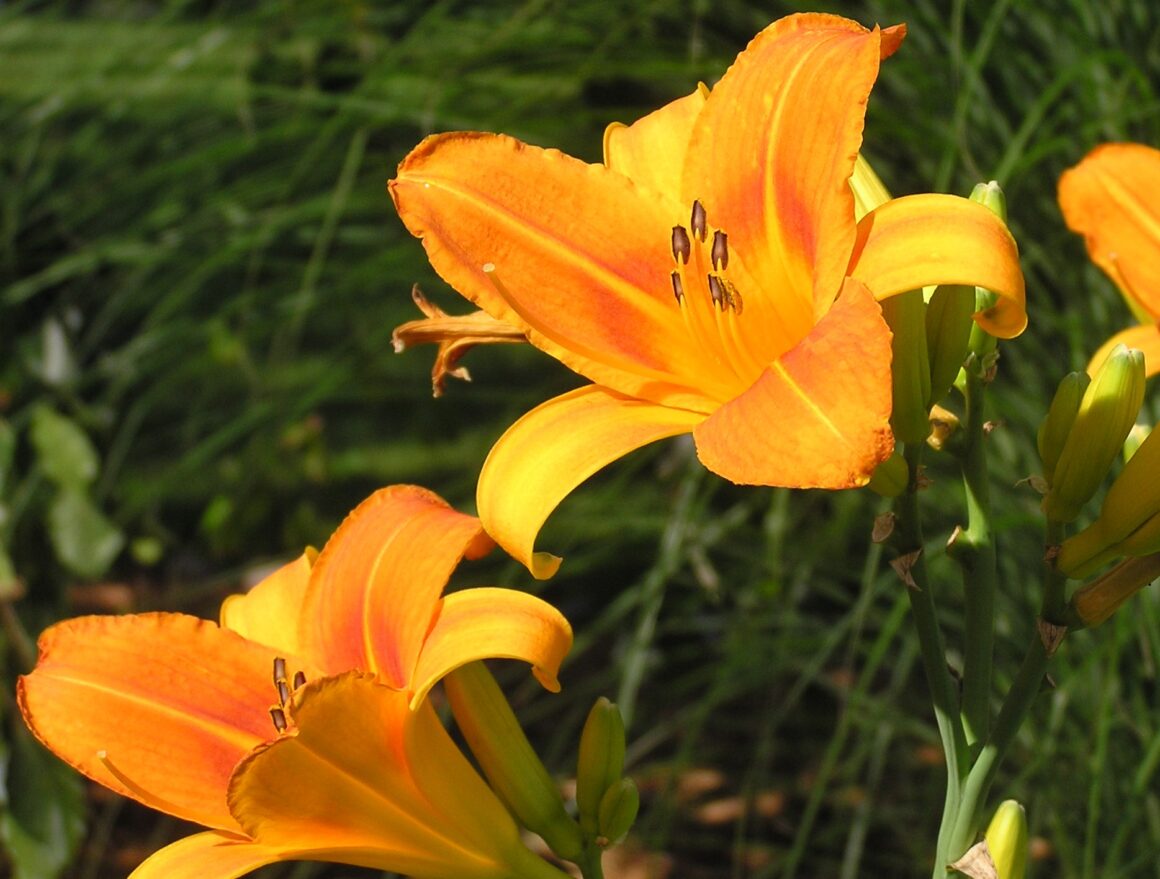
The actual hybridizing process is as simple as can be. An anther is selected from the flower you choose to be the “daddy”, and the pollen is dusted onto the pistil of the plant you choose to be the “mommy”.
If you are serious about your hybridizing, you need to identify the cross you have just made.
This can be as simple as looping a string sale tag around the neck of the flower with the name of the daylily that provided the pollen.
In my early years, I used colored paper clips opened to a triangle with 3” x 5” cards as an index.
Now I tend to use plastic “bread tag” type labels as I find them more durable than string tags and less paperwork than paper clips.
Regardless, you want to make sure that you know the two parents of the seeds you are creating.
You won’t know for sure if your cross has formed seeds for several days.
The flower must be left alone to dry. Do not “dead head” or you will remove the ovary that is growing the seeds! After a couple of weeks, you may note a small green oval where the flower had been.
This is the ovary and contains the growing seeds. When the pod turns brown and begins to open, it’s time to harvest the seeds.
Daylily seeds need a cold spell for the best germination.
I put my seeds in small sealed freezer bags in the refrigerator for at least 6 weeks. I start my seeds inside in early February when the day length supports plant growth.
The seedlings are transplanted outside in June in rows about a foot apart.
Each seedling is 6-8” apart. The seedlings will remain in this row for two growing seasons. The majority will bloom the second summer after transplant, about 17 months from seed.
Then begins the hard part. While it is very easy to produce seedlings and flowers, it’s harder to produce a daylily that is unique and garden worthy.
The selection process has to be rigorous, and the hybridizer must be willing to discard plants that may have a “pretty face” but don’t have good plant habits. Some of the characteristics I look at are;
– Bud count and branching: How many buds are on a scape? More buds mean more flowers in the garden, but if all the buds are clustered at the top of the scape, they may interfere with each other when two or three blossoms open simultaneously.
– Is the height of the scapes pleasing? Flowers should be held nicely above the foliage. Also, daylilies should not need staking. Some daylilies with very large flowers have thin scapes that will fall over if not provided with support.
– What does the foliage look like? Although the flowers may be wonderful, foliage is a big part of the daylily’s presence in the garden and should be attractive.
– Is the flower attractive? Flowers should open well, be appealing throughout the day, and have a clear color.
– And last, is the plant vigorous? Daylilies reproduce vegetatively by making extra fans during the growing season. In the north where the growing season is short, a plant that exhibits vigorous growth is an asset.