Are you looking to add some extra storage space to your home? Look no further than this easy DIY floating shelf project! With just a few simple materials and a little bit of time, you can create a stylish and functional shelf that will elevate the look of any room.
To get started, check out this TikTok video by @nataliedoef. Natalie provides a step-by-step tutorial that makes the process a breeze.
@nataliedoef Easy DIY Floating Shelf 🔨 #floatingshelves #easydiy #diy #diyproject #diyhome #homedecor #fyp #fypシ #bedroommakeover ♬ original sound – natalie doef
Gather Your Materials
The first step is to gather all the materials you’ll need. You’ll need a piece of wood for the shelf, brackets for support, a level, a drill, screws, and a stud finder (if you’re attaching the shelf to a wall).
Measure and Mark
Next, measure and mark the desired location of your shelf on the wall. Use a level to ensure that your marks are straight and even.
Attach the Brackets
Using a drill, attach the brackets to the wall or directly to the shelf, depending on the design you prefer. Make sure to secure them tightly to ensure the shelf will be stable.
Install the Shelf
Once the brackets are in place, it’s time to install the shelf. Simply slide the shelf onto the brackets, making sure it is level and secure.
Enjoy Your New Floating Shelf
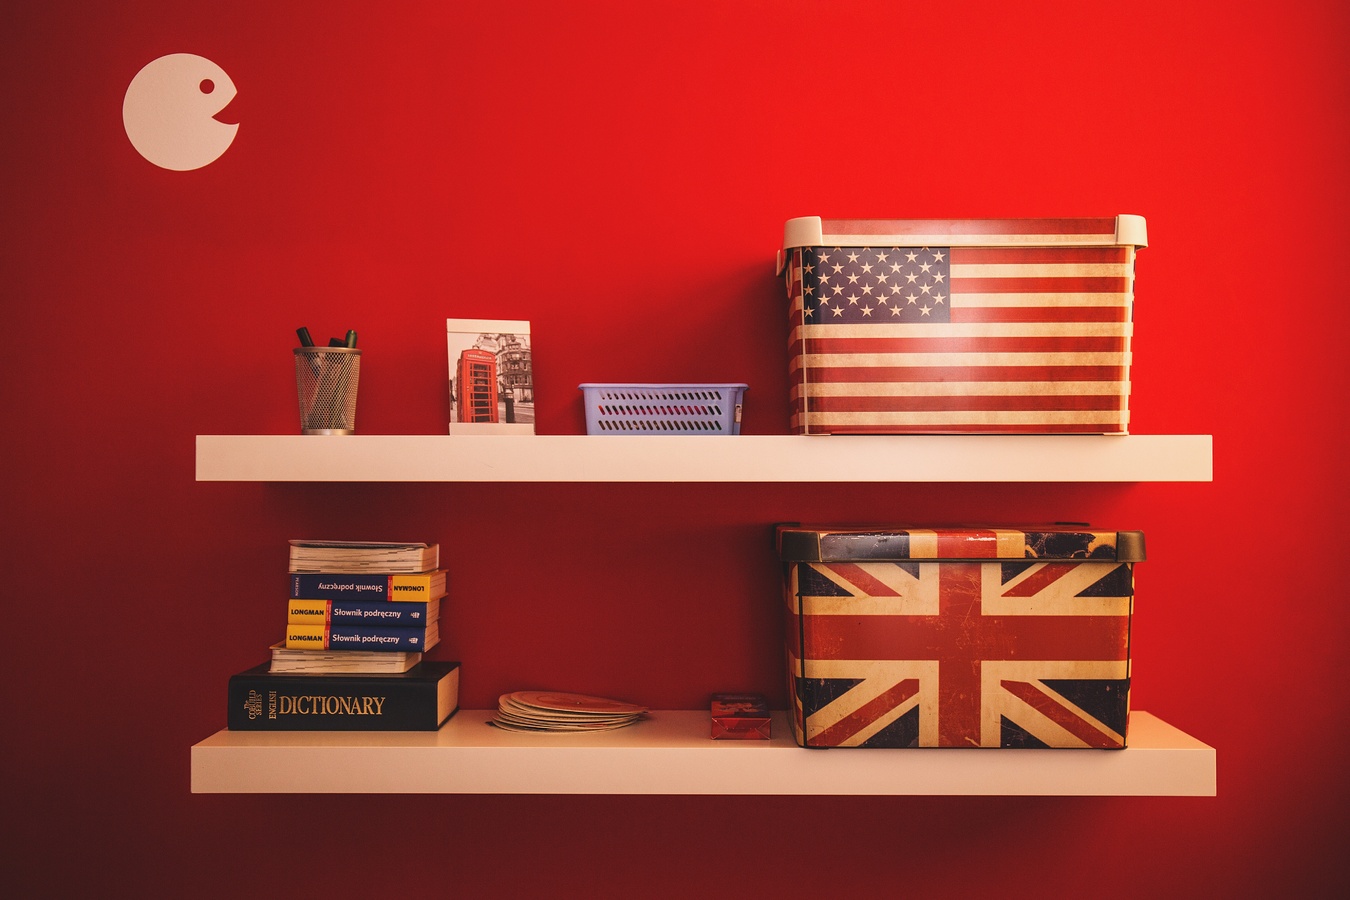
And that’s it! You now have a beautiful floating shelf that adds both style and functionality to your space. Use it to display your favorite decor items and books, or even as a convenient spot to store everyday essentials.
This DIY project is not only easy but also budget-friendly. You can customize the shelf by choosing a wood stain or paint color that matches your existing decor. Get creative and have fun with it!
So why wait? Start your DIY adventure today and create a stunning floating shelf that will impress your friends and family. Don’t forget to share your project on social media using the hashtag #DIYFloatingShelf.
Perla Irish, who is more familiarly known as Irish, is the Content Manager at newfld.com. She loves following trends around home and garden, interior design and digital marketing. Through this blog, Irish wants to share information and help readers solve the problems they are experiencing.